2026-09-01 · 7 min read
OBS Sermon Captions: Add Live Subtitles to Your Church Stream (Free + Paid Ways)
A step-by-step walkthrough for adding real, readable captions to a church livestream using OBS's browser source, free options included.
By Josh Stannard, founder of Voco
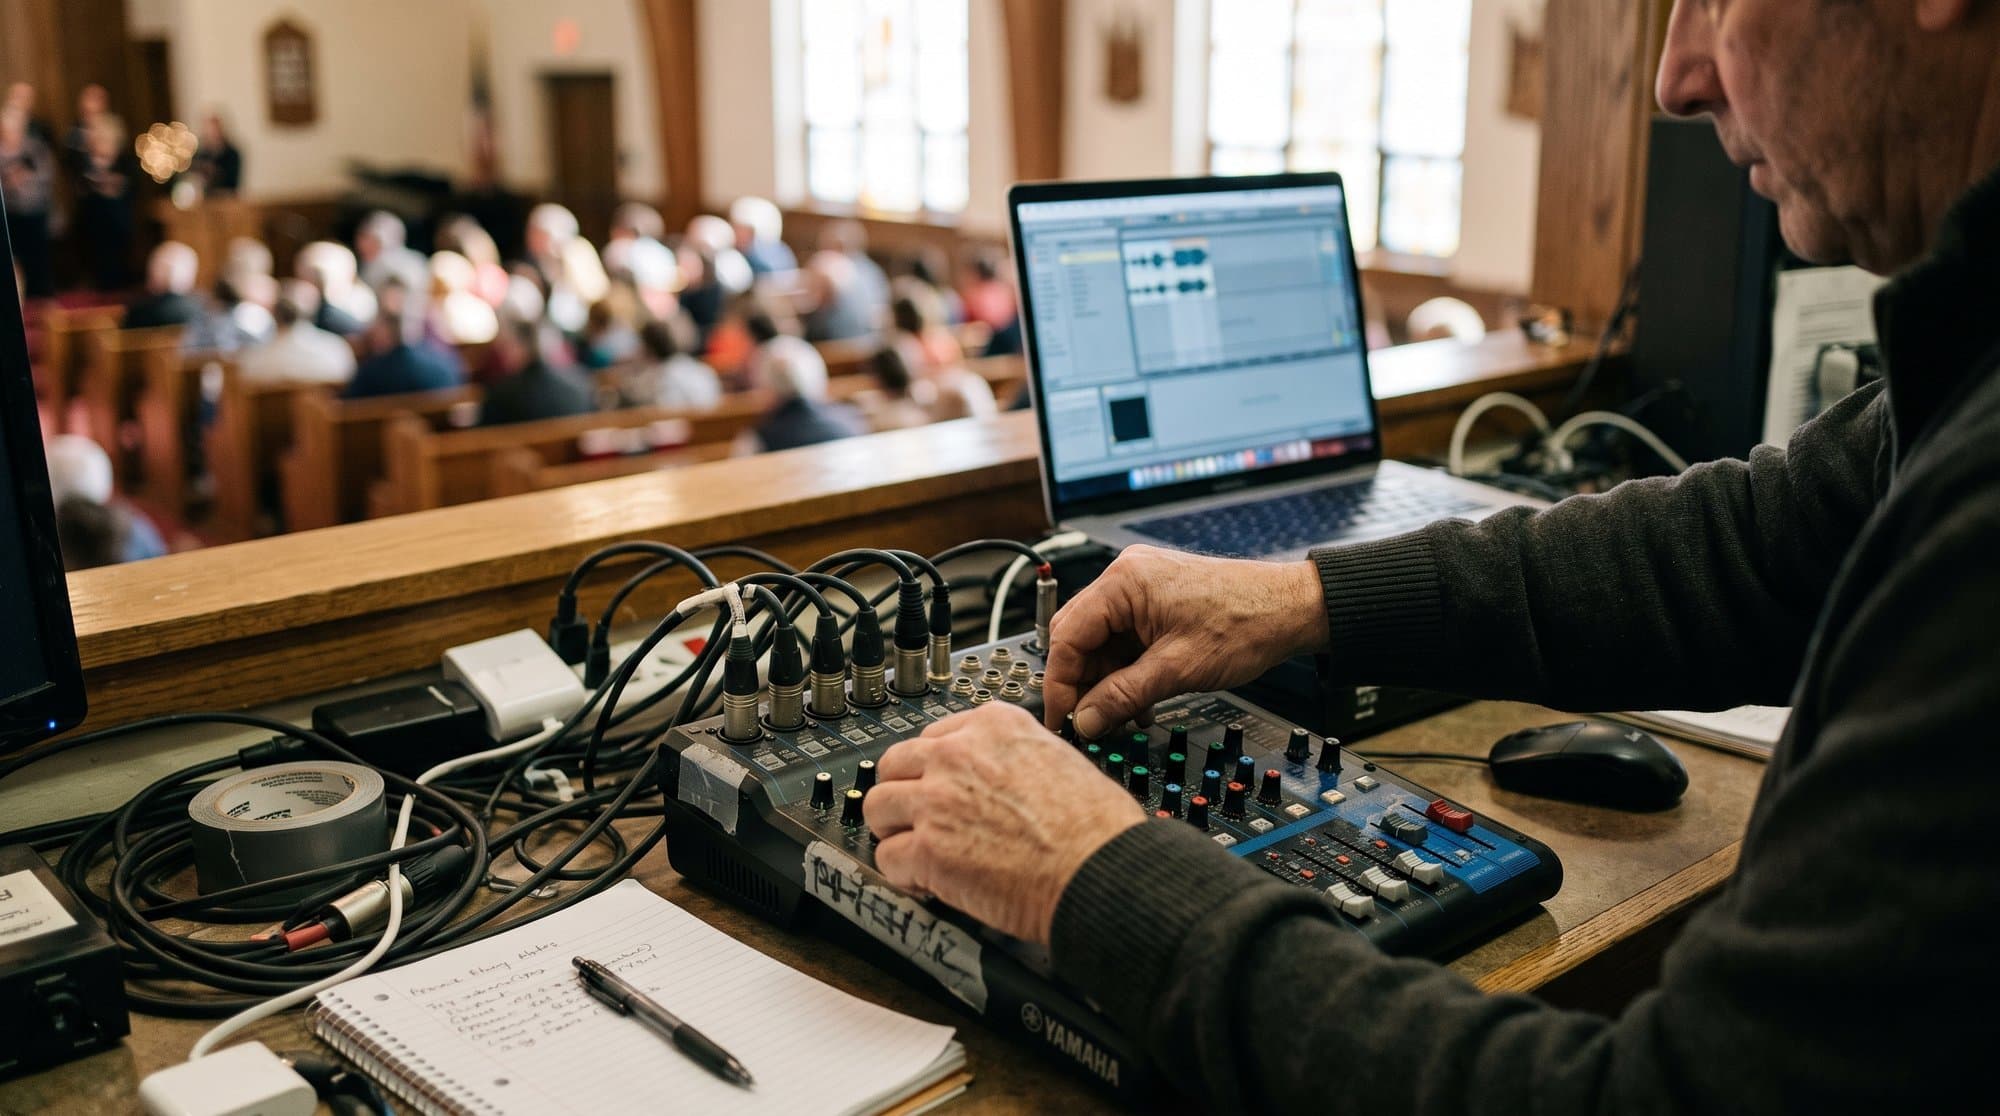
If you run the livestream at your church, you've probably already had the conversation: someone asks why there aren't captions, and you say you'll look into it, and then Sunday happens again before you get round to it. OBS doesn't have captions built in, which is the first thing worth knowing, and also the reason this keeps getting put off. It's not hard. It just isn't obvious where the feature lives, because it doesn't live inside OBS at all.
This is the step-by-step for adding live captions to a church stream running on OBS Studio, the free and open-source streaming software most churches already use. It covers the free route, the browser-source route that gives you real control, styling so captions are actually readable, and going multilingual on the same stream.
How OBS captions work: the browser source concept
OBS has no native captioning engine. What it has instead is a Browser Source, a type of source in OBS that is, literally, a small embedded web browser rendering a webpage inside your scene. Anything that can run on a normal webpage, including a live-updating caption feed, can be dropped straight into an OBS scene as a layer.
The pattern is consistent across every captioning tool that works with OBS: a captioning service generates a webpage that updates with live text as someone speaks, gives you a URL for that page, and you paste that URL into an OBS Browser Source. OBS renders it as a transparent overlay on top of your camera feed, and it goes out with the rest of your stream. That's the whole trick. Once you've done it once, adding any other overlay works the same way.
The free route (and its limits)
If you want to try this before spending anything, YouTube and Facebook both offer native auto-captions on their livestreams, and turning them on costs nothing beyond ticking a box in your stream settings. This happens entirely on the platform's side, not inside OBS, so there's no OBS setup at all.
The catch: platform auto-captions are trained on general speech, not sermons. They'll mangle scripture references, names, and theological vocabulary more often than you'd like, and different viewers on different platforms (YouTube vs Facebook vs your own site) will see different captions, or none, depending on what each platform supports. It's a reasonable starting point for testing whether captions help your audience at all. It's not the long-term answer if accuracy matters, and for a deaf or hard-of-hearing viewer relying on the captions to follow the service, accuracy is the whole point.
The browser-source route: step-by-step
This is the general pattern for adding any live caption overlay to OBS, using a captioning tool of your choice.
Step 1: Get your caption tool's overlay URL. Sign into your captioning service, set your source (and, if relevant, target) language, and find the option for an "overlay URL," "display link" or "OBS URL." This is a unique web address that shows a live, updating caption feed with a transparent background, meant specifically to be embedded rather than viewed as a normal page.
[SCREENSHOT: captioning tool dashboard showing the "copy overlay URL" or "OBS URL" field highlighted]
Step 2: Open OBS and add a Browser Source. In OBS, find the Sources panel (usually bottom-centre of the window). Click the + icon, then choose Browser from the list.
[SCREENSHOT: OBS Sources panel with the + menu open, "Browser" option highlighted]
Step 3: Create the source and name it. A popup will ask you to create a new source or select an existing one. Choose Create New, give it a clear name like "Captions," and click OK.
[SCREENSHOT: OBS "Create/Select Source" dialog with "Captions" typed as the name]
Step 4: Paste the URL and set dimensions. In the properties window that opens, paste your overlay URL into the URL field. Set Width and Height to match your OBS canvas, 1920 by 1080 for a standard full-HD scene. Leave "Local file" switched off, since you're loading from a URL, not a file on your computer.
[SCREENSHOT: OBS Browser Source properties panel with URL field filled in and Width/Height set to 1920x1080]
Step 5: Add transparency in Custom CSS (if needed). Most captioning tools' overlay pages already have a transparent background built in. If yours doesn't, or if you see a white box behind your captions, add this to the Custom CSS field:
body { background-color: rgba(0, 0, 0, 0) !important; }
Click OK to confirm.
[SCREENSHOT: OBS Browser Source properties panel showing the Custom CSS field with the transparency rule pasted in]
Step 6: Position and resize the source in your scene. Your new Captions source will appear in the scene, usually covering the whole canvas at first. Click and drag its corner handles to resize it to a caption-sized strip, typically along the bottom third, and drag it to position. Make sure it sits above your camera and background sources in the Sources list order, since OBS layers sources top-to-bottom, with items higher in the list rendering on top.
[SCREENSHOT: OBS scene view with the resized caption box positioned in the lower third, sources list showing "Captions" above "Camera"]
Step 7: Test before you go live.
Most captioning tools let you append a test parameter (something like ?text=Testing captions) to the end of your overlay URL, which forces placeholder text onto the page so you can check position and readability without needing someone to talk into a mic. Once you're happy, remove the test parameter and confirm the tool is set to "live" or "go live" on its own dashboard, separate from OBS. This trips people up: the OBS source can be perfectly configured and still show nothing if the captioning service itself hasn't been switched on.
[SCREENSHOT: preview window showing test caption text correctly positioned in the lower third]
Styling captions people can actually read
A caption that's technically working but genuinely unreadable on a phone screen from across a room hasn't solved the problem. A few rules that make a real difference:
- Font size: bigger than feels necessary on your editing screen. What looks fine on a 27-inch monitor can be unreadable on a livestream viewer's phone.
- High contrast: white or pale yellow text on a solid or semi-transparent dark background, never light text on a light background or vice versa.
- Safe areas: keep captions inside the middle 90% of the frame width and clear of the very bottom edge, since some platforms crop or overlay their own UI (like buttons) along the bottom of the video.
- Limit lines on screen: two lines maximum at a time. More than that and viewers are reading a paragraph instead of following speech.
Most captioning tools expose these as URL parameters or dashboard settings rather than requiring you to touch OBS's CSS at all, which is the easier route for a volunteer team maintaining this week to week.
Going multilingual on the same stream
Once the browser-source pattern is set up, adding a second language is usually just a second Browser Source pointed at a second overlay URL, one per language, positioned in different parts of the frame or shown on alternate scenes. If your captioning tool runs translation from the same audio pipeline as the captions (rather than as a separate product), this is a configuration change rather than a second system to maintain, which matters a great deal when it's a volunteer, not a paid AV team, doing the maintaining.
Full disclosure: I built Voco, one of the tools that can generate the overlay URL described in this walkthrough. Voco's browser-source overlay works with OBS, vMix and Streamlabs the same way, plugs into the steps above, and runs captions and translation into 200+ attendee languages from one feed, for £12 a week on the Church plan (prices checked August 2026). It's disclosed here because it's genuinely the product built for exactly this workflow, not because it's the only one that works. The steps above apply to any captioning tool that offers an OBS overlay URL, which by 2026 is most of them.
If you're setting this up for the first time this Sunday, plan for a dry run midweek, not your first live service. Browser sources occasionally need a manual refresh after OBS restarts or after your captioning tool's session times out, and it's much better to discover that on a Tuesday than mid-sermon.
For churches on other streaming or presentation software, vMix, EasyWorship or Streamlabs follow the same browser-source logic with slightly different menus, covered at voco.church/docs/vmix-easyworship-streamlabs.
Frequently asked questions
What should churches know about how obs captions work: the browser source concept?
OBS has no native captioning engine. What it has instead is a Browser Source, a type of source in OBS that is, literally, a small embedded web browser rendering a webpage inside your scene. Anything that can run on a normal webpage, including a live-updating caption feed, can be dropped straight into an OBS scene as a layer.
What should churches know about the free route (and its limits)?
If you want to try this before spending anything, YouTube and Facebook both offer native auto-captions on their livestreams, and turning them on costs nothing beyond ticking a box in your stream settings. This happens entirely on the platform's side, not inside OBS, so there's no OBS setup at all.
What should churches know about the browser-source route: step-by-step?
This is the general pattern for adding any live caption overlay to OBS, using a captioning tool of your choice.
What should churches know about styling captions people can actually read?
A caption that's technically working but genuinely unreadable on a phone screen from across a room hasn't solved the problem. A few rules that make a real difference:
First published on Medium.